 Skip to content
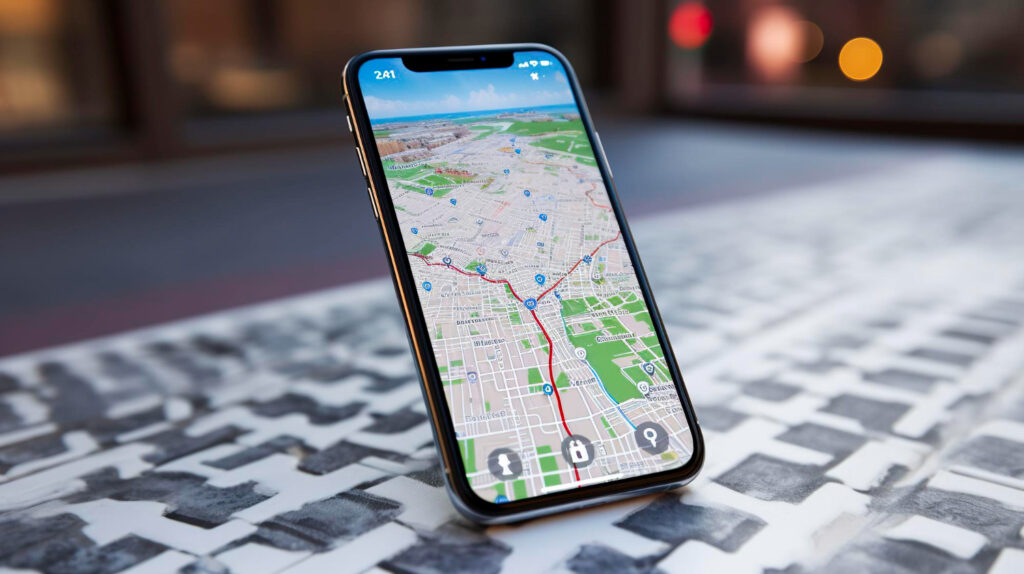
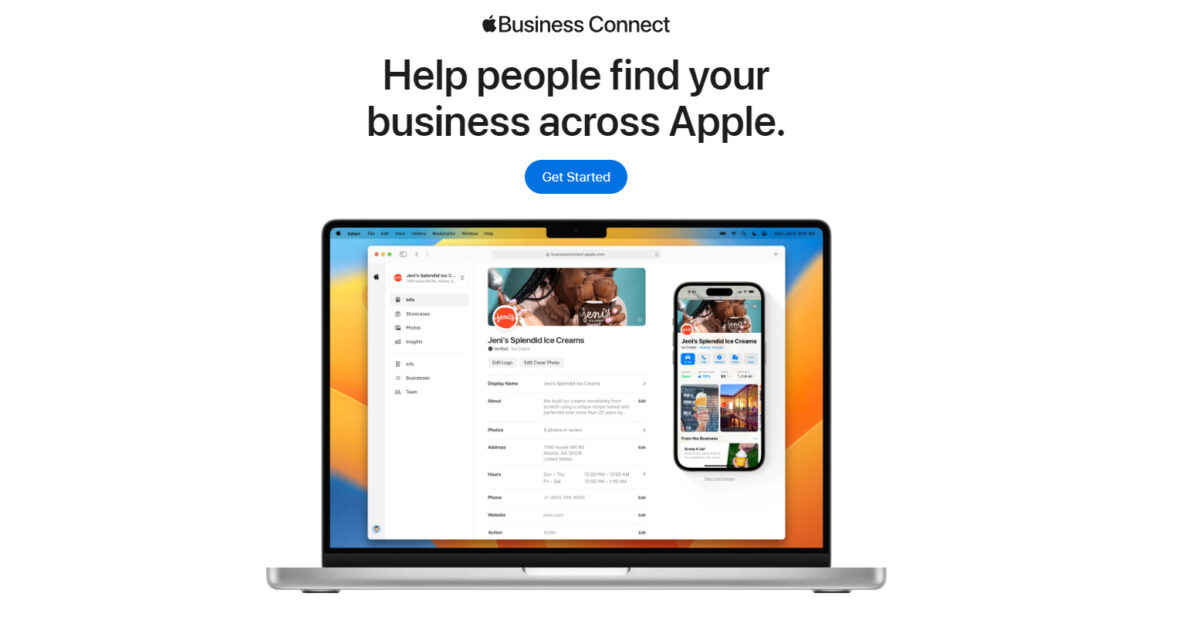
Your Apple Maps Listing
Do you use Apple Maps to help customers find your business? You should. This is because a significant 77% of smartphone users frequently use navigation apps, and leveraging this tool can present your business to customers at crucial decision-making moments.
While Google Maps dominates the navigation app market, attracting about 67% of users and a plethora of Google reviews, Apple Maps remains competitive with 1.3 billion active Apple devices worldwide. Simply put, Apple Maps can be a powerful tool for attracting customers to your business.
Steps to Claim Your Apple Maps Business Listings
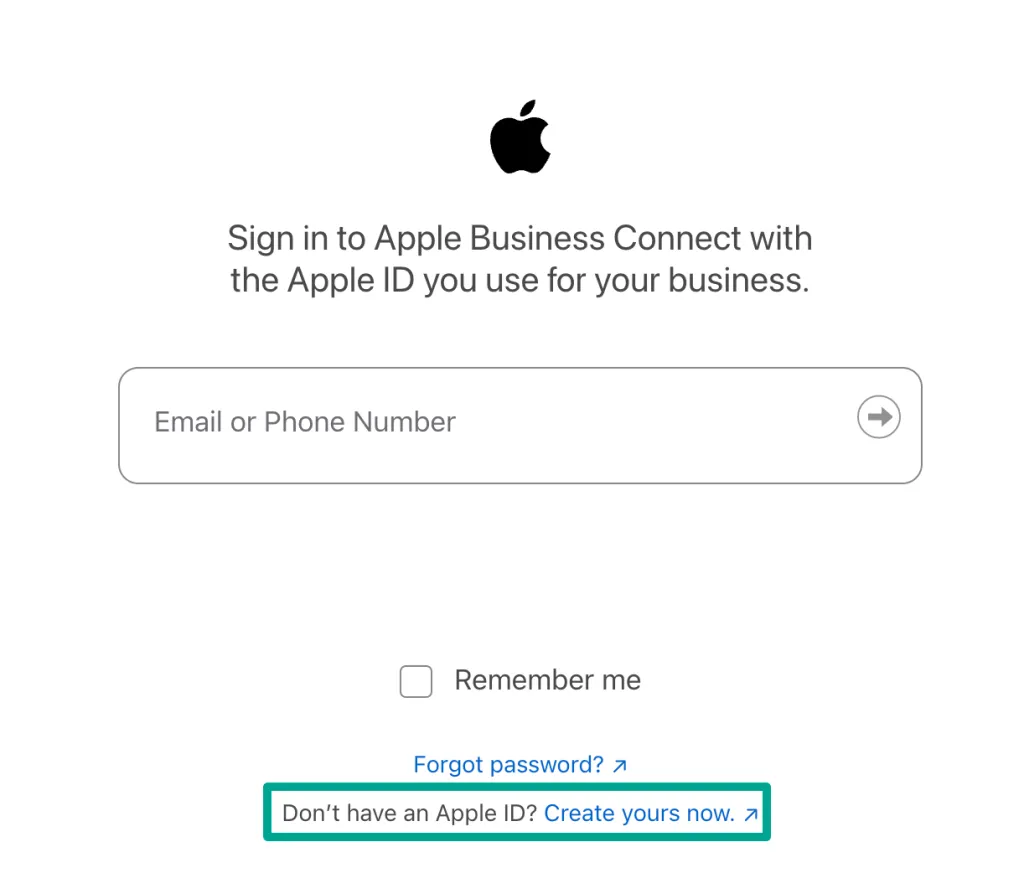
Step 1: Visit Apple Maps Connect and click the “Get Started” button.
Step 2: Login or create a new Apple ID.
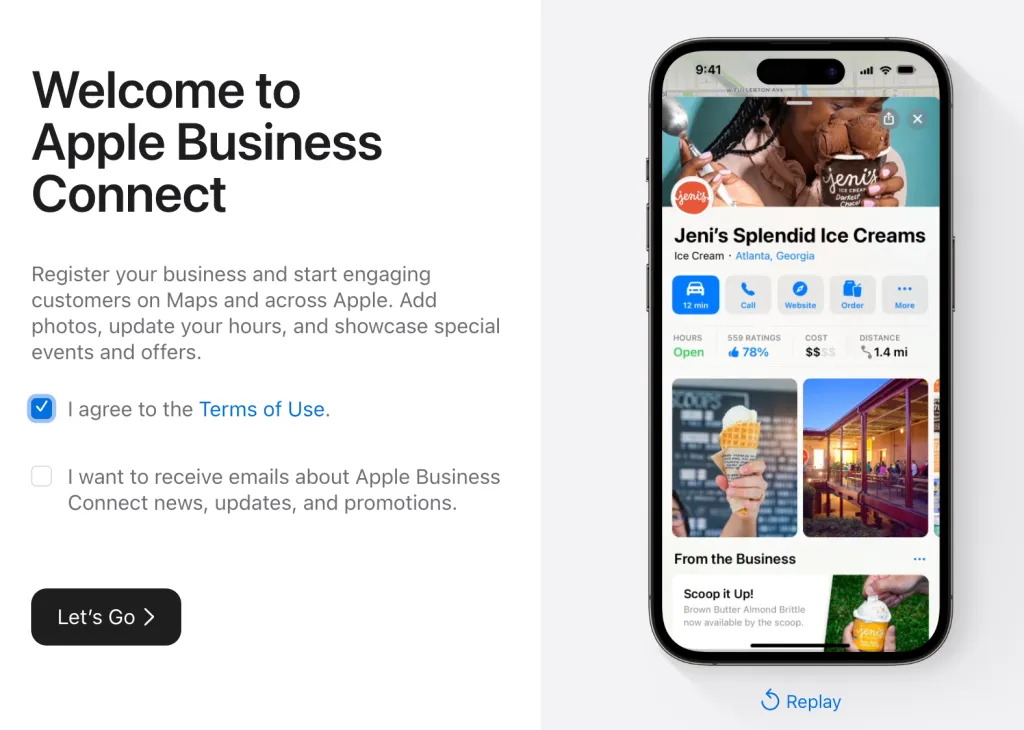
Step 3: Read and agree to the Terms of Use.
Step 4: Choose your type of business.

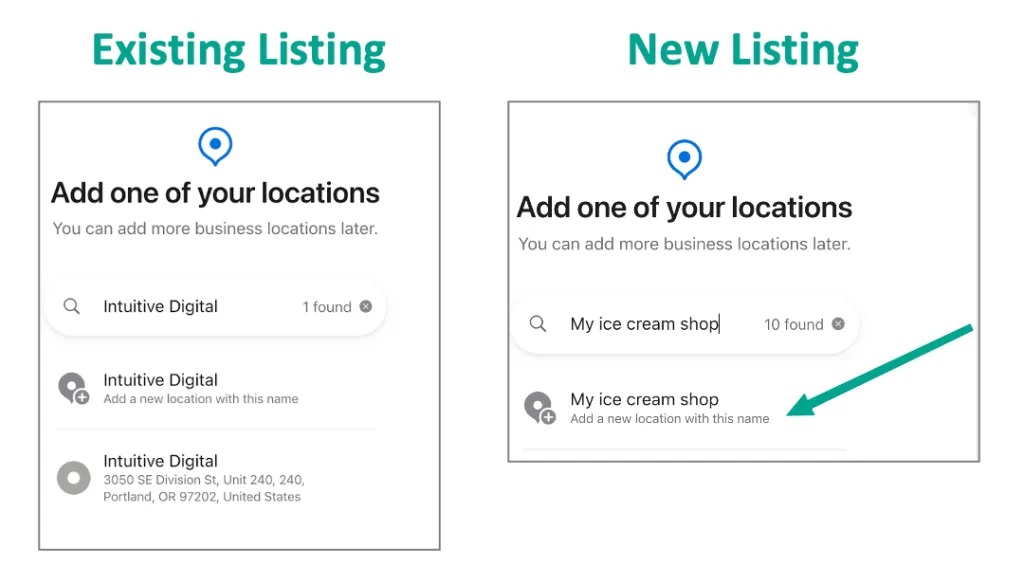
Step 5: Search for your business listing or add a new place.
Step 6: Follow the on-screen instructions to input your business information. Some of the information you will be asked for includes:
Display Name
AddressPhone number
Categories
Website URL
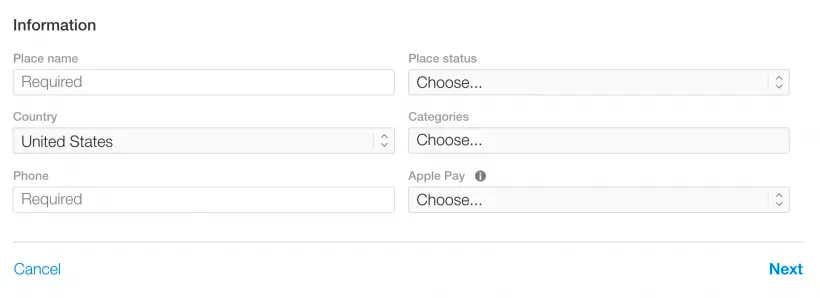
The guidelines for the information you will add at this step can be found here.
Step 7: After submitting your information, you must complete a verification process. There are a couple of routes this could take.
Phone Verification
If you’re claiming an existing listing, you will have the option to verify by phone.
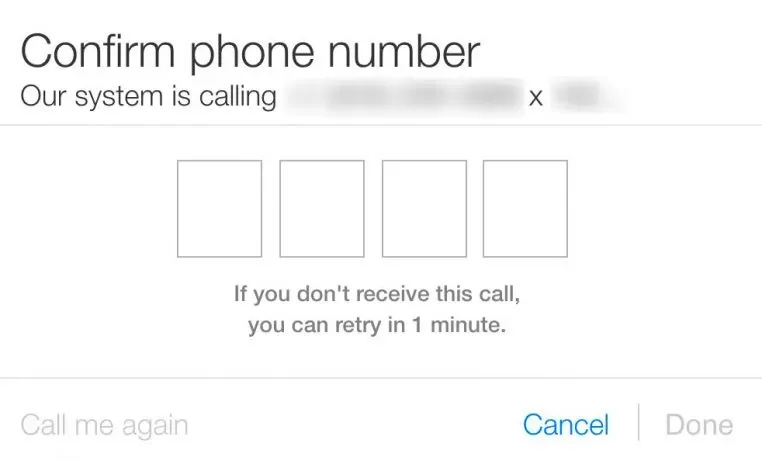
When prompted, click “Call me now” to trigger a phone call to your business. Over the phone, you will receive a 4-digit code that you will need to enter on the screen.
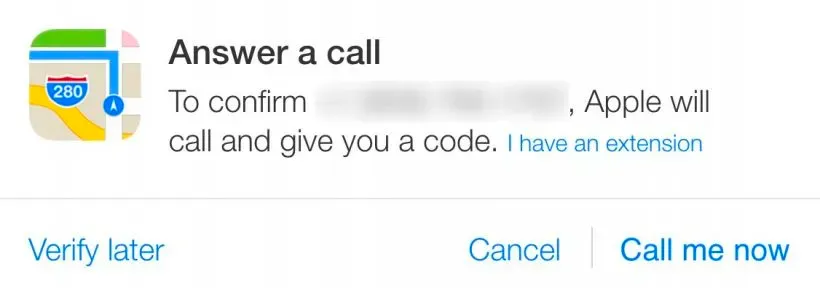
Unfortunately, it’s common for users to experience issues with phone verification, such as the phone never ringing despite the on-screen message saying it should be. In this case, use the alternate option below.
Document Verification
If you’re creating a new listing, or the phone verification method failed, you can get verified by submitting an official business document, such as a lease, insurance policy, or utility bill.
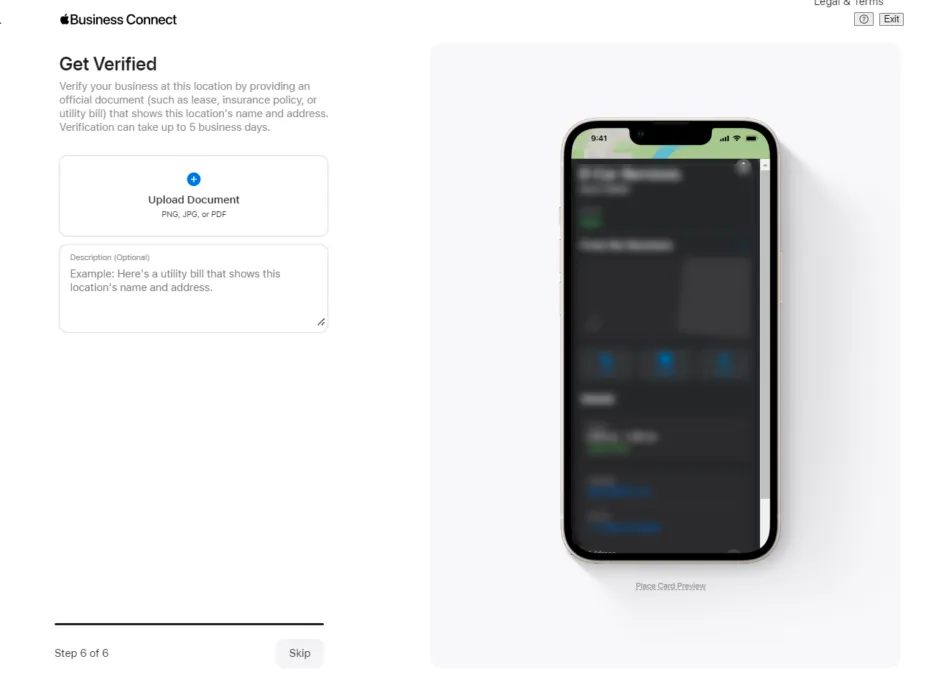
The listing verification process can feel like a pain – but it’s intentionally designed that way to prevent spam listings from being created. In exchange for jumping through the hoops, your business gets a listing your customers know they can trust to be legitimate and accurate.
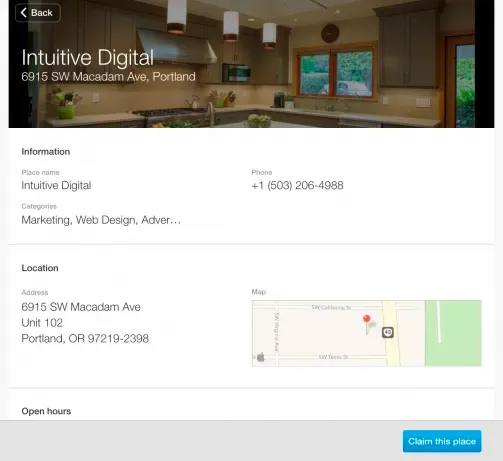
Step 8: Once verified, you’ll have access to optimize your profile with additional information, such as:
Images
Place status (either “This place is open” or “This place has moved or closed”)
Apple Pay (“Accepted” or “Not Accepted”)
Hours of operation
Social media links
Step 9: Once you’ve completed all information, click “Claim this place” or “Submit for review.”
In some instances. Apple may notify you that additional verification is required. Otherwise, listings usually go live within a week or so.
Step 10 (if applicable): If your business has multiple locations, you’ll need to repeat these steps for each location.